Let's Get Plastered!
Lets Get Plastered!
This was my topic for the PowerShell Summit 2018, and honestly something quite useful (we use it at work). Today we’re going to get plastered, but it’s likely we’ll remember the whole night, or at least wake up groggy with a new found skill of scaffolding projects using PowerShell’s Plaster module, here we go!
Follow Along Requirements:
- Visual Studio Code Installed (With the PowerShell extension)
Table of Contents
What’s a Plaster?
Plaster is a PowerShell module which allows you to scaffold other projects using a Plaster template. A Plaster template is driven by a Plaster manifest and when invoked guides you through a series of options to build out a project. This is particularly useful if you are needing to setup a PowerShell module project but spending a lot of time setting up the directory structure, manifest files, pester test files, etc.
Install the Dang Module
Okay folks, this might be review of basic PowerShellGet stuff but if it’s not this will get you plastering with Plaster, and trust me it’s a lot more fun than that plastering they do on This Old House!
We’re going to go ahead and install the module from the PowerShell Gallery! Of course we’ll install with the “Current User” scope to install to our user profile modules directory, because we all have two accounts, (standard and admin) and never operate as Administrator all the time, right?!1
Find-Module -Name Plaster | Install-Module -Scope CurrentUser
Plaster is also compatible with PowerShell Core, which cool cats like myself like to use these days. It also works with Windows PowerShell 5.x, so don’t sweat the version of PowerShell you’re running!
With it installed (at the time of writing this the current version is 1.1.3) let’s take a look at what this module ships with!
Get-Command -Module Plaster
Console Output Below
PS> Get-Command -Module Plaster

CommandType     Name                                               Version    Source
-----------     ----                                               -------    ------
Function        Get-PlasterTemplate                                1.1.3      Plaster
Function        Invoke-Plaster                                     1.1.3      Plaster
Function        New-PlasterManifest                                1.1.3      Plaster
Function        Test-PlasterManifest                               1.1.3      Plaster
You’ll see it’s relatively simple, just 4 functions. I mentioned above that Plaster ships with some Plaster templates in the box (2 of them to be exact). Let’s take a look at what we have.
Get-PlasterTemplate
Console Output Below
PS> Get-PlasterTemplate

Title        : AddPSScriptAnalyzerSettings
Author       : Plaster project
Version      : 1.0.0
Description  : Add a PowerShell Script Analyzer settings file to the root of your workspace.
Tags         : {PSScriptAnalyzer, settings}
TemplatePath : C:\Users\ephos\Documents\PowerShell\Modules\Plaster\1.1.3\Templates\AddPSScriptAnalyzerSettings

Title        : New PowerShell Manifest Module
Author       : Plaster
Version      : 1.1.0
Description  : Creates files for a simple, non-shared PowerShell script module.
Tags         : {Module, ScriptModule, ModuleManifest}
TemplatePath : C:\Users\ephos\Documents\PowerShell\Modules\Plaster\1.1.3\Templates\NewPowerShellScriptModule
These are the two that we get included, and boy howdy there’s even one for scaffolding a PowerShell module project, neat-o! You can see that Plaster templates give us the ability to do some nifty things with them like version and tag2 them.
The important thing to note about Plaster templates is that they are very dependant on the TemplatePath of where they reside3. In our example above, you can see these two reside inside of the Plaster module itself which was installed into my user profile modules directory (for PowerShell core).
Now that we know how to install Plaster, and how to discover some Plaster templates to use, let’s take this thing for a spin.
Use the Built In Plaster Template
We’re going to create a new module called “PSEphos”, mostly because I am not original with names at all!
To do this we’ll utilize the included Plaster template “New PowerShell Manifest Module” to build out the module. As mentioned, the Plaster template path is very important and we’re going to need that right now, so if you’re playing along at home go ahead and get that TemplatePath property from that Plaster template for the -TemplatePath parameter.
We’re also going to need to tell Plaster where to create this new PowerShell module, a “destination path” if you will. It just so happens that there is a parameter called -DestinationPath for this. To keep things relatively simple the desktop will work just fine for this demo.
Let’s store these in variables so our actual calling of Plaster is a bit cleaner and the line of code won’t reach the moon and back (yes you can also splat this, if that strikes your fancy, I’m not going to cover splatting here though).
# The path to the Plaster template that we're invoking.
$templatePath = "$env:USERPROFILE\Documents\PowerShell\Modules\Plaster\1.1.3\Templates\NewPowerShe
llScriptModule"
# The destination path where we are going to scaffold the module, remember we are calling it 'PSEphos'.
$destinationPath = "$env:USERPROFILE\Desktop\PSEphos\"
# Invoke that sucker!
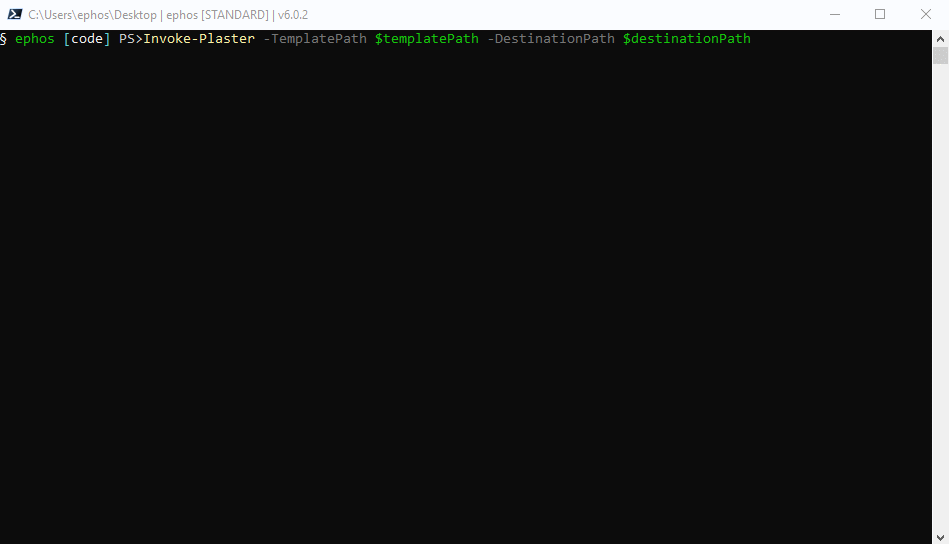
Invoke-Plaster -TemplatePath $templatePath -DestinationPath $destinationPath
Holy smoke stacks! You should be greeted with a sweet looking Plaster logo and now be in a series of prompted questions!
Now for the fun part, answering the questions! The first question is “Enter the name of the module:”, we’re going to stick with PSEphos.
The second question is “Enter the version number of the module (0.0.1)”. The first thing to point out is that a choice showing parenthesis () means that’s going to be the default selection if you just hit enter. In this case if we don’t type a version in, it’s going to assume “0.0.1” is good enough for us. Let’s give it something different, we’ll go ahead and say this is version 1.0.0 so we’ll type that in.
The final prompt is actually a choice Select an editor for editor integration (or None):. Here we’re presented 2 options, we can hit ? to find out more about the two options. Ah, so we can select N for no editor integration, or select C for VSCode editor integration. I love VSCode so we’ll definitely take option C!
We have a brand spanking new module on the desktop now, ready for us to start writing functions in. One thing that might have been easy to miss was the ‘Verify’. This ensured we had minimum version of Pester 4.0.3 installed.
# Double check out module is on the desktop where we created it.
Get-ChildItem -Path "$env:USERPROFILE\Desktop\PSEphos\"
# Open VSCode to add a function to it.
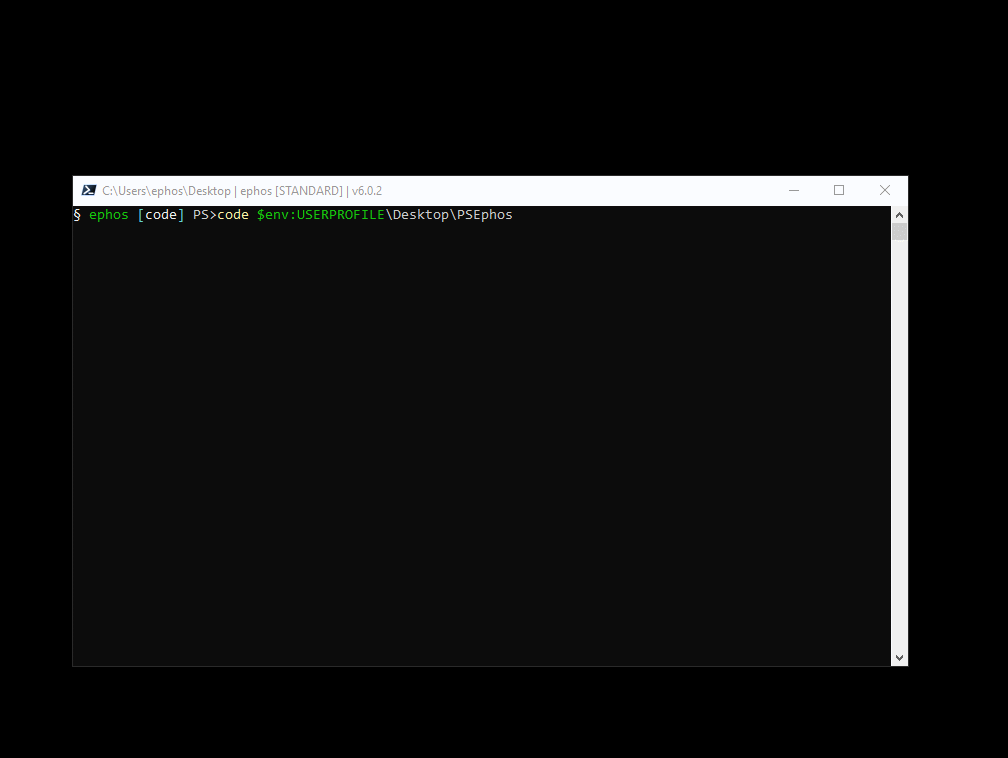
code "$env:USERPROFILE\Desktop\PSEphos\"
Let’s check out our new module.
Would you look at that, a module built for us, ready to go for us to start coding in. We hardly had to lift a finger. A couple of things to note…
- It created Pester tests for us, and even populated the
$ModuleManifestName = 'PSEphos.psd1'variable with our module manifest file. - It created a module manifest file as well, complete with the
RootModule,Version(the version 1.0.0 we specified),GUID,Author, etc.
This is cool, but this module is also a little too basic for my needs. Let’s create a more robust one. First, however, let’s take a look at the inner workings of what made this possible, the 👐Plaster Manifest👐.
If you’d like to believe this is just pure magic please stop reading here.
The Plaster Manifest
Okay folks, let’s talk turkey. By this I mean Plaster manifest turkey. This file (plasterManifest.xml) single handedly is what makes all of what you saw possible. It’s also responsible for making Plaster templates so much more customizable!
All of what I am about to cover can also be found in the help!
Get-Help -Name about_Plaster_CreatingAManifest
Recall that Plaster had two built-in templates which shipped with the module. Let’s pry the “New PowerShell Manifest Module” Plaster template open and check out the guts of it.
# I want to illustrate the kind of lack of discoverability though with Plaster templates resulting in the need to use Where-Object
$template = Get-PlasterTemplate | Where-Object {$_.Tags -contains 'Module'} | Select-Object -Property TemplatePath
# Open it in VS Code
code $template.TemplatePath
Just for reference, the layout of the Plaster templates is very flexible, the module one we’re looking at is the following.
NewPowerShellScriptModule     - This is the root of the Plaster template
│   Module.psm1               - This is the file that will used to scaffold the <modulename>.psm1
│   plasterManifest.xml       - This is the manifest which orchestrates the user choices and the scaffolding
│
├───editor                    - This is a directory which houses some of the editor options
│   └───VSCode                - This is the folder which will become .vscode in the scaffolded module
│           settings.json     - This is a VS Code file which will be scaffolded within the .vscode folder
│           tasks.json        - This is a VS Code file which will be scaffolded within the .vscode folder
│
└───test                      - This is a directory which houses the Pester test which gets scaffolded
        Module.T.ps1          - This is the file which will become the <modulename>.Tests.ps1
A handful of files are contained within the Plaster template, but we’re going to focus in at first on the plasterTemplate.xml file.
The first thing you might notice, even before opening the file up is that yes… it’s, dun dun dun XML😱! After the last sentence I have a funny image in my head of the Space Balls evacuation scene, except with this blog entry. However, if you’re still tuned in with us let’s take a look at the plasterManifest.xml.
First thing, I really want to stress, XML isn’t all that bad. Would I prefer something more relaxed like yaml or json? Probably, but they can’t really enforce a schema well, and Plaster has it’s own XML schema4, and it’s easy as heck to use/learn.
The schema for a Plaster manifest is really just 3 parts…
- metadata
- The information about the Plaster template itself, the properties you see when running
Get-PlasterTemplate.
- The information about the Plaster template itself, the properties you see when running
- parameters
- The choices that prompted when running
Invoke-Plaster. In our case the Name, Version, and Editor options.
- The choices that prompted when running
- content
- The meat and potatoes of what files will be created and/or modified when scaffolded. This is largely fed by the selected options from parameters.
Even within those sections, you have a few easy options and I have something that will make it way easier if you stick around!
Let’s look at some of the sections from the plasterManifest.xml of the template we just ran.
The “metadata” Section
If we look at the top of the file you’ll notice the metadata, which is some of the data we see when we run Get-PlasterTemplate. This is pretty self explanatory.
<metadata>
  <name>NewPowerShellScriptModule</name>
  <id>2a7c3f58-4a45-4d55-9b07-753ac7608114</id>
  <version>1.1.0</version>
  <title>New PowerShell Manifest Module</title>
  <description>Creates files for a simple, non-shared PowerShell script module.</description>
  <author>Plaster</author>
  <tags>Module, ScriptModule, ModuleManifest</tags>
</metadata>
The “parameters” Section
The next section is parameters. If you recall we were prompted a few questions. Let’s investigate the parameters. Since there were only three we’ll look at all of them.
<parameter name='ModuleName' type='text' prompt='Enter the name of the module'/>
<parameter name='Version' type='text' prompt='Enter the version number of the module' default='0.0.1'/>
<parameter name='Editor' type='choice' prompt='Select an editor for editor integration (or None):' default='1' store='text' >
<choice label='&None' help="No editor specified." value="None"/>
<choice label='Visual Studio &Code' help="Your editor is Visual Studio Code." value="VSCode"/>
</parameter>
The first two parameters are very simple; they are just strings and store the inputs for use later in the content section. You can also see within version that you can define a default value. In this example the default is set to “0.0.1”.
As for the ‘Editor’ choice parameter, it had a default option of [C] for VS Code. You can see that defined above with default='1' (index starts at 0, because choice 0 is “None,” choice 1 is “Visual Studio Code”). You might also notice &, this is what was making the choices for the options the letters ([N] and [C]). Since the next character after the & is a letter, that makes that letter the selector for the choice. We also utilized the help and you can see the help messages defined with the options.
Plaster Variables
Let’s talk about Plaster variables, since we’ll need to get familiar with them before we dig into the content section. A minute ago I said…
“store the inputs for use later in the content section”
…and you might also notice the Editor choice parameter had value="VSCode" or value="None".
Parameter values can be referenced inside the Plaster manifest, as well as in the files you will scaffold with the $PLASTER_PARAM_ParameterName syntax. This means that within our plasterManifest.xml file (and even outside of it), we can reference the inputs to the choices, in the content section of the file as well as in the files we are scaffolding.
An example of this would be, when we answered the “ModuleName” parameter question earlier on, we could actually reference that with $PLASTER_PARAM_ModuleName and its contained value would be PSEphos.
If that didn’t totally blow your mind, Plaster also ships with a bunch of built-in variables you can use.
- $PLASTER_TemplatePath
- $PLASTER_HostName
- $PLASTER_Date
- $PLASTER_Time
- $PLASTER_Year
The “content” Section
With that business out of the way, and now that we know how user is prompted for information and how that information is stored, we can finally look at the content section where a lot of it is used.
The content section, which utilizes information passed in from the parameter section, is responsible for the file layout/contents and structure of the module. It can also be used for informational messages or validating module dependencies (like Pester).
Within content the big players here are the following.
- newModuleManifest
- This is whats used to generate the module manifest / psd1 file.
- file
- This will specify one or more files to copy into the destination folder.
- templatefile
- This will specify one or more files to copy and expand into the destination folder.
- requireModule
- This will check to ensure the specified module is installed.
Remember, parameters can be referenced. We can clearly see that in the newModuleManifest section of content. You can see the parameters referenced as variables here. You’ll need to use ${} (dollar sign, curly brace) syntax if referencing it within other text, otherwise if you just need the value you can reference it as you would a normal variable. This shouldn’t be confused with sub-expression syntax, although it does feel similar. This syntax as far as I know is specific to Plaster.
<newModuleManifest destination='${PLASTER_PARAM_ModuleName}.psd1'
                    moduleVersion='$PLASTER_PARAM_Version'
                    rootModule='${PLASTER_PARAM_ModuleName}.psm1'
                    encoding='UTF8-NoBOM'
                    openInEditor="true"/>
When we scaffolded this project the
<file source='Module.psm1' destination='${PLASTER_PARAM_ModuleName}.psm1' openInEditor="true"/>
Ladies and gentlemen, boys and girls, ISE holdouts and VS Code embracers! The moment you’ve been waiting for, templatefile!!! templatefile is some seriously cool magic, this is what lets Plaster not only move files from Plaster template source to destination, but expand them. You might have caught my bolding of expand above as well. What does this mean? Well, token replacement!
Okay… cool, but what’s token replacement? Good question, we’ll follow the process of what happened in our Pester test file when it was scaffolded.
This was the part of the plasterManifest.xml which was responsible for it.
<templateFile source='test\Module.T.ps1'
              destination='test\${PLASTER_PARAM_ModuleName}.Tests.ps1' />
Like file, templatefile is going to copy the source file in the Plaster template ‘test\Module.T.ps1’ over to the destination. You can see because it is referencing the Plaster variable $PLASTER_PARAM_ModuleName that when the file gets copied to the destination it’s going to be given the new name of ‘
So that gets the file there with the correct file name, but where did the expansion / token replacement happen?
Inside Pester test that got created the first line was $ModuleManifestName = 'PSEphos.psd1' and it was done automatically without our help!
Let’s look at line 1 in the source file of the Plaster template (test/Module.T.ps1)…
$ModuleManifestName = '<%=$PLASTER_PARAM_ModuleName%>.psd1'
Now let’s look at line 1 in the destination file of the output (test/PSEphos.Tests.ps1)…
$ModuleManifestName = 'PSEphos.psd1'
Remember…
Parameter values can be referenced inside the Plaster manifest, as well as in the files you will scaffold with the
$PLASTER_PARAM_ParameterNamesyntax.

Mind blown, right? I hope…
Token replacement is referenced within the Plaster template source files using the <% %> syntax. This is not just limited to simple variable insertion, you can throw whole script blocks with logic in these as well. You can also have more than 1 in a source file.
Custom Plaster Templates
Let’s create our own Plaster template now. The high you were riding from that amazing token replacement might have just disappeared as you started recalling that you were going to need to write XML. Stop worrying, this is easy, and don’t forget I said I’d make it easier! We first need to create a plasterManifest.xml file. This is easy as there was a function that does it for us, hint hint New-PlasterManifest5.
# We'll create the new Plaster manifest, see my foot note [5] about the quirks in this function.

# First we'll create the Plaster manifest's folder and Set-Location into it.
$plasterTemplatePath = New-Item -Path $env:USERPROFILE\Desktop\ -Name CustomModule -ItemType Directory
Set-Location -Path $plasterTemplatePath

# Now we'll create the Plaster manifest file within it.  Like before, there can be a lot of params, so splat if you'd like.
New-PlasterManifest -TemplateName CustomModule -TemplateType Project -TemplateVersion 1.0.0 -Title 'Blog Custom Module' -Tags 'Module'

# We can now see it.
Get-PlasterTemplate -Path $plasterTemplatePath.FullName
Console Output Below
PS> Get-PlasterTemplate -Path $plasterTemplatePath.FullName

Title        : Blog Custom Module1
Author       :
Version      : 1.0.0
Description  :
Tags         : Module
TemplatePath : C:\Users\ephos\Desktop\CustomModule
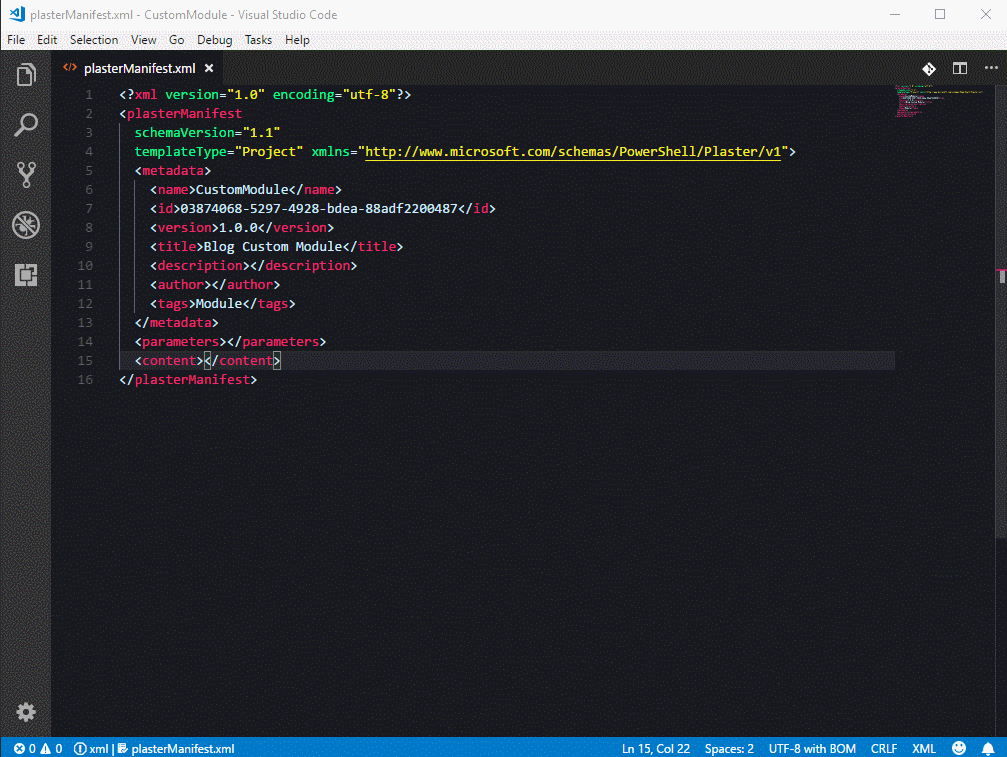
So far so good, it just created the plasterManifest.xml for us. We can open up the Plaster template we created in VS Code now.
code $plasterTemplatePath
All we have is the plasterManifest.xml and, although it’s there, it’s a little bare. It did fill out the metadata and generate us a parameter and content section.
<?xml version="1.0" encoding="utf-8"?>
<plasterManifest
  schemaVersion="1.1"
  templateType="Project" xmlns="http://www.microsoft.com/schemas/PowerShell/Plaster/v1">
  <metadata>
    <name>CustomModule</name>
    <id>b3cc3a75-ff7e-4f47-be97-215a6d1aded7</id>
    <version>1.0.0</version>
    <title>Blog Custom Module</title>
    <description></description>
    <author></author>
    <tags>Module</tags>
  </metadata>
  <parameters></parameters>
  <content></content>
</plasterManifest>
Now, you could copy chunks out of existing Plaster manifest files, or you could copy examples out of the “about_Plaster_CreatingAManifest” help file. Or you can use some Plaster XML VS Code snippets I made. You’ll need to copy them into your ‘$env:USERPROFILE\AppData\Roaming\Code\User\snippets’ directory, this requires VS Code.
Wow. Just wow. Look, that pesky XML is practically written for you, just tab your way through it and fill in the blanks! I promised you I would make it easy for you didn’t I? With this in place we can whip up a custom module template in no time at all!
Now that I’ve showed you an easy way to whip up a template without writing too much XML, we’re going to take a trick out of the old cooking show books and skip the to part where the finished meal comes out of the oven!
Note: If there is any interest in a post about writing a whole custom Plaster template and plasterManifest.xml file it is certainly an option but this post ended up pretty long. Instead I opted to outline how Plaster works and reference the module template included in the Github project from my Summit demo.
I like my modules with dot source-able public and private functions, and a module project root for tests and build files that don’t get shipped with the module itself when the CICD pipeline builds it. Something similar to this…
ModuleProjectRoot
│   ReadMe.md
|   .gitignore
|   LICENSE
|   ChangeLog.md
|   <CI Build Files for psake/psdeploy/appveyor/etc>
├───.vscode
│       settings.json
│       tasks.json
├───src
│   │   PSModule.psd1
│   │   PSModule.psm1
│   ├───Classes
│   │       PSModule.cs
│   ├───en-US
│   │       about_PSModule.help.txt
│   └───Functions
│       ├───Private
│       │       _PrivateFunction.ps1
│       └───Public
│               Public-Function.ps1
└───tests
        Manifest.Tests.ps1
        PSModule.Tests.ps1
We won’t go completely crazy with this as I’d like to provide you a base to get started, but we’ll at least do a subset of this so you can get going.
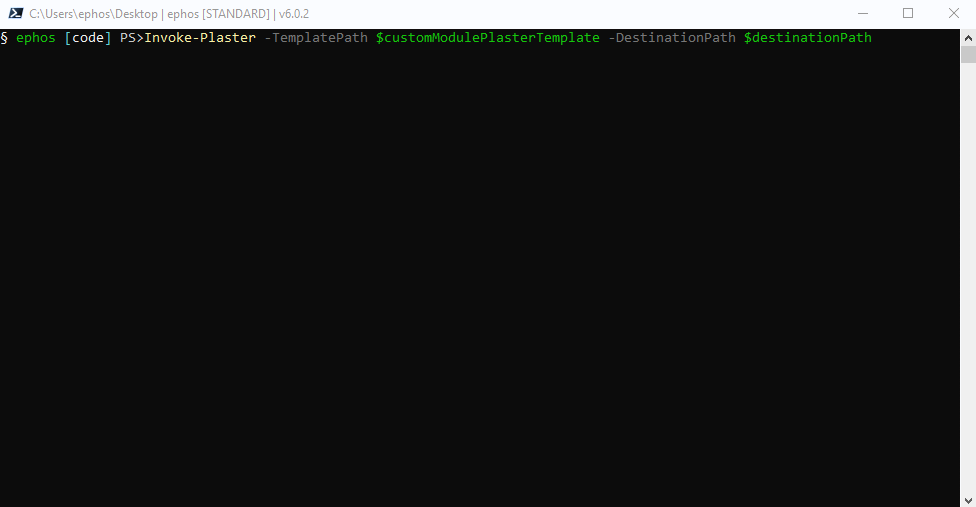
Using my Plaster “CustomModule” template which can be found here we’ll go ahead and scaffold a more robust module!
We’re going to create a module called “PSSuperModule”.
Just like that, we have a module and can start writing up our public and private functions!
Non PowerShell Projects
“Can you scaffold non PowerShell projects?”. Yes!
Just as a very simple proof of concept, I have a little Go application example here.
If you look at the code you’ll notice that it can be a little wonky doing the token replacement in files that won’t end up as a PowerShell file but it is technically doable.
<%
if ($PLASTER_PARAM_MainPackage -eq 'Main')
{
@"
package main
import (
"@
}
else
{
@"
package $PLASTER_PARAM_ProjectName
import (
"@
}

foreach ($import in $PLASTER_PARAM_Imports)
{
@"
	"$($import)"`r
"@
}

@"
)
func main() {
"@

if ($PLASTER_PARAM_Imports -contains 'fmt')
{
@"
    fmt.Println("Hello, Demo!")
"@
}

if ($PLASTER_PARAM_Imports -contains 'os')
{
@"
	h, err := os.Hostname()
	if err != nil {
		panic(err)
	}
	fmt.Println(h)
"@
}

if ($PLASTER_PARAM_Imports -contains 'time')
{
@"
	t := time.Now()
	fmt.Println(t)
"@
}

@"
}
"@
%>
This is a little bit rough around the edges but really made to let you see that Plaster is capable of really scaffolding whatever you need. You may have caught that we were doing this the the C# file in our CustomModule in the last section as well!
Plaster Templates in the Wild
When you run Get-PlasterTemplate you might notice that there is a parameter called -IncludeInstalledModules. It wasn’t until March I found a PowerShell module which shipped with a Plaster template! Michael Lombardi’s Documentarian includes a Plaster template and uses it to generate documentation for PowerShell modules.
Install-Module -Name Documentarian -Scope CurrentUser
Get-PlasterTemplate -IncludeInstalledModules
Console Output Below
PS> Get-PlasterTemplate -IncludeInstalledModules

Title        : AddPSScriptAnalyzerSettings
Author       : Plaster project
Version      : 1.0.0
Description  : Add a PowerShell Script Analyzer settings file to the root of your workspace.
Tags         : {PSScriptAnalyzer, settings}
TemplatePath : C:\Users\ephos\Documents\PowerShell\Modules\Plaster\1.1.3\Templates\AddPSScriptAnalyzerSettings

Title        : New PowerShell Manifest Module
Author       : Plaster
Version      : 1.1.0
Description  : Creates files for a simple, non-shared PowerShell script module.
Tags         : {Module, ScriptModule, ModuleManifest}
TemplatePath : C:\Users\ephos\Documents\PowerShell\Modules\Plaster\1.1.3\Templates\NewPowerShellScriptModule

Title        : Documentarian
Author       :
Version      : 0.2.0
Description  : Scaffolds the files required for GitBook Documentation.
Tags         : Documentation
TemplatePath : C:\Users\ephos\Documents\PowerShell\Modules\documentarian\0.10.1\GitBook
Conclusion
Well thats all folks! I hope you learned something, at the very least you can checkout my Github project for the presentation I did (and included templates)! Feel free to hit me up on Twitter if you want to talk some Plaster or PowerShell!
-
Yes I run this way at home as well. Why gamble on a re-install of the OS when I can just run as a non administrative user and just escalate to my admin account when needed? ↩
-
Tags are nice but there is no real good way to search for Plaster templates with them. You’ll still need to use
Where-Objectto filter by tag, and it just feels a little… icky. ↩ -
This is one of my minor gripes with Plaster. You tend to work a lot with the TemplatePath(s), which feels a little rough around the edges. It’s not like there is a $PSPlasterTemplatePath environment variable where it knows where to look for them. Again, this is minor but I personally wish Plaster template discoverability was a bit better. ↩
-
If for some reason you’re a weird XML schema nerd, you can find the schema definition for Plaster in the Github repository for it. ↩
-
There seems to be something very buggy about the
-Pathparameter on this function at the time of writing. A ton of variations will throw the exception… Exception calling “Create” with “2” argument(s): “Could not find a part of the path ‘Path\You\Specified’.” ↩
Featured Comments